
Animatronic Nights Match Prep Checklist
Tick through survivor items or killer picks before you queue public lobbies.
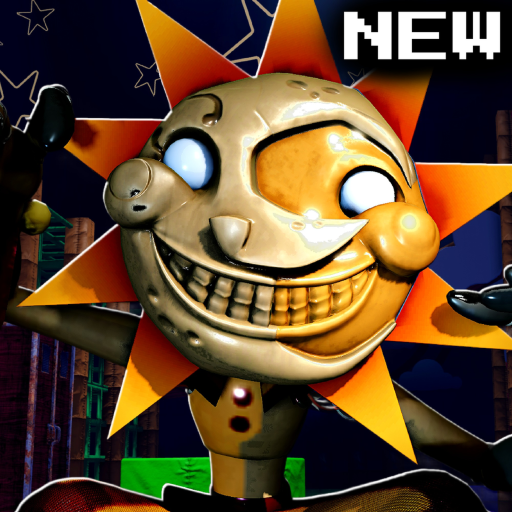
Public Animatronic Nights lobbies punish unprepared accounts: survivors queue without stun tools, killers swap animatronics mid-load without reading ability cooldowns, and both sides forget to redeem patch codes before shopping. This checklist is a repeatable ritual you can run in two minutes while the PlayBox! lobby loads. It does not replace deep reading — link out to the Item Tier List, Killer Tier List, and Survivor Items when a box needs context.
Update 40 added Daycare Ruins and the Sun item set, shifting which gadgets matter on wide outdoor sight lines. Refresh your habits after every numbered patch listed on Latest Update.
Universal pre-queue (both roles)
Complete these before picking a role-specific section:
- Redeem active codes (UPD40, 4TH26, SORRYMOON, UPD38, UPD37, UPD36, PLAYBOX, RELEASE) via Codes Helper or Codes Hub
- Claim Roblox PlayBox! group reward if not already collected (Official Links)
- Note today’s map rotation — read Maps Guide if Daycare Ruins is new to you
- Set audio levels for proximity voice and chase cues (Controls)
- Confirm Coin balance and planned purchase from Earn Coins
Night Guard survivor checklist
Survivors win by time, objectives, and team coordination. Items define power — characters share the same loop.
Economy and unlocks
- Spend Coins on at least one S-tier gadget from the Item Tier List (tracker, strong flashlight, or medkit line)
- Avoid duplicate cosmetics before core tools are covered
- Read Survivor Tips for noise and loop basics if returning after a break
Loadout slots (typical four-tool layout)
- Information — tracker or equivalent vision tool for team callouts
- Stun — flashlight timed for killer commit animations (Survivor Items stun section)
- Recovery — medkit or heal channel item for post-down saves
- Utility — lockpick, speed boost, or trap depending on map (tight halls vs Daycare Ruins yards)
Sun set / Update 40 gear
- If owned, equip Sun flashlight for outdoor Daycare Ruins sections
- Pair Sun visibility with tracker callouts so teammates benefit, not just you
- Review Sun entries on Item Tier List before assuming every piece is meta
In-match habits
- Walk by default; sprint only when breaking line of sight
- Call generator or objective progress without spamming global chat
- Break chases toward loops learned in Maps Guide
- Save flashlights for high-value stuns — not cosmetic panic clicks
Animatronic killer checklist
Killers win by pressure, map control, and ability timing. Character choice matters more than cosmetics.
Roster and economy
- Main at least one A-tier or higher pick from Killer Tier List (Springtrap, Ennard, Withered Foxy, Puppet, etc.)
- Read ability section on Animatronics for your selected character
- Avoid first-time ranked-style queues on meme picks until basics are solid
Pre-spawn planning
- Know spawn-relative path to high-traffic objectives on current map
- Memorize ability cooldown rhythm from Killer Guide
- Decide early-game target: scatter survivors vs camp objective hub
Chase discipline
- Commit only when loop breaks favor you; disengage before third generator finishes unchecked
- Use hearing and proximity voice intel — do not rely on third-party ESP (Scripts Hub warns why)
- On Daycare Ruins, abuse vertical cutoffs documented in Maps Guide
Post-match improvement
- Review downs vs overcommits on results screen
- Swap animatronic if a matchup felt unwinnable — check Tier List before buying anew
- Watch one embedded tutorial only from official community channels linked on Wiki Links
Quick role picker
| I main… | Open first | Checklist section |
|---|---|---|
| Survivor | Survivor Items | Night Guard checklist |
| Killer | Killer Guide | Animatronic checklist |
| Both | Getting Started | Universal + both sections |
Trading and cosmetics (optional)
Collectors chasing VHS or event skins should read Trading after core gameplay checklists feel automatic. Rare skins do not fix missing medkits or weak killer ability timing.
When to skip public queue
- Patch day server instability — wait for Updates Hub confirmation
- Unredeemed UPD40 or milestone codes still on the table
- New map without reading Maps Guide landmarks
Related resources
- Tools Hub — Codes Helper and future utilities
- Codes Hub — reward tables
- Players Hub — roster and items deep dives
- Tier List Hub — meta rankings for picks and gear
- Guides Hub — long-form teaching
Run this checklist before sessions where you care about Coin efficiency or rank-adjacent public lobbies. Casual roleplay rounds can ignore sections, but redeem codes anyway — they expire silently when PlayBox! ships the next numbered update.
Frequently Asked Questions
Quick answers to the most common questions.
How many survivor items should I equip?
Most layouts support about four active tools. Cover information, stun, recovery, and utility — details on Survivor Items and the Item Tier List.
Which killer should I pick for the checklist?
Start with an A-tier or S-tier animatronic you have unlocked from the Killer Tier List. Read Animatronics for ability specifics before queueing.
Does Daycare Ruins change the checklist?
Yes. Prioritize visibility and tracker tools outdoors; review Maps Guide and Sun gear notes from Update 40 before ticking loadout boxes.
Should I redeem codes every session?
Redeem new patch codes immediately. Older codes need only one successful claim per account unless PlayBox! reactivates an event string.
Where do trading skins fit?
Optional after core gameplay prep. Trading guide covers VHS and event value — cosmetics rarely replace missing survivor items or killer practice.